Preparing for food photography is not just a process of creating beautiful images, but also an important step towards effective promotion of your restaurant. With the right approach, quality food and a professional look, you will be able to show your cuisine at its best. For restaurants in Tashkent that want to showcase their food in the best light, quality images are not just beautiful content for social media, but also an important marketing tool. In this article, I'll share a few key tips for restaurants to ensure their photo shoot goes smoothly and the results are truly impressive.
Good food photography is the key to the success of your menu and promotional materials. Practice shows that after replacing amateur photos in the menu with professional ones, the average check increases by 15-20% on average within 2-3 weeks without any other efforts.
How a restaurant in Tashkent should prepare for food photography: tips from a professional. Improperly organized food photography can become a headache for all departments of the restaurant. Therefore, it is important to carry out painstaking work to organize the shooting, to coordinate its passage - from these efforts largely depends on how quickly you get the result and its quality.
For food photography (food photo) it is necessary to prepare in advance:
A set of dishes in which the serving is done: all kinds of plates, devices, if you photograph drinks - all kinds of teapots and mugs
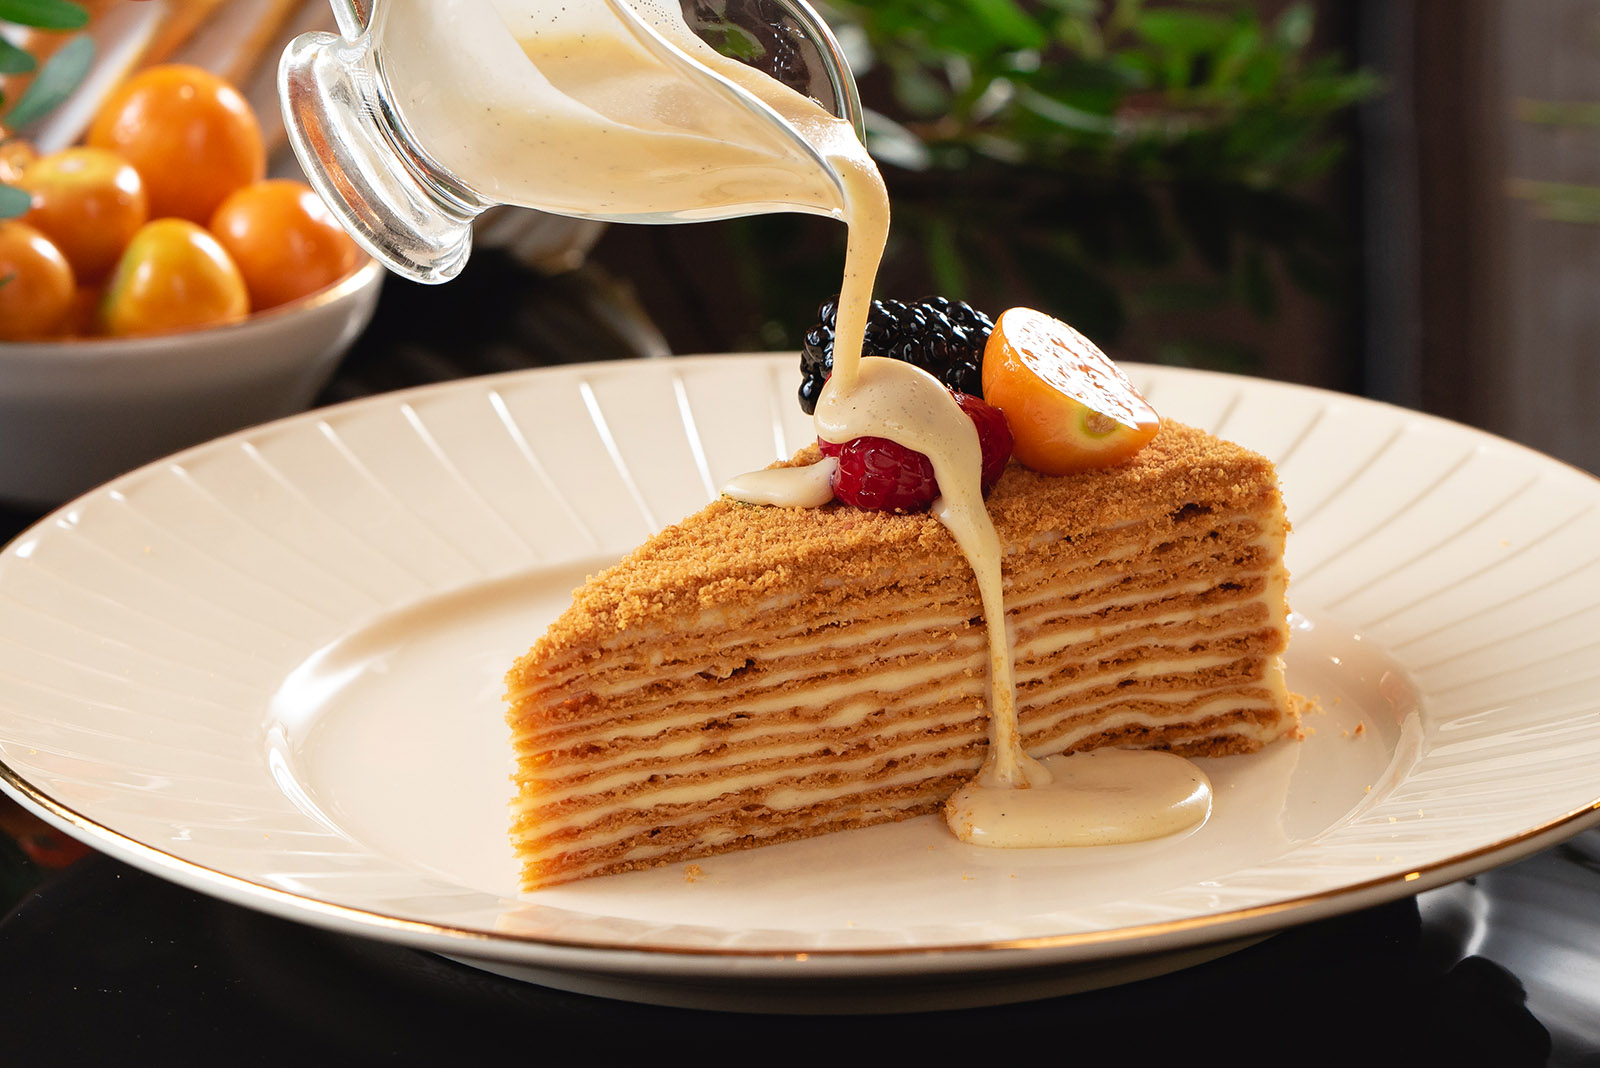
Beautiful “source” products: potatoes, peppers, eggs, carrots, herbs.
Crumbly foods: flour, spices, cinnamon in separate bowls
Your branded ironed textiles and other beautiful fabrics: napkins, teeblemates, tablecloths - 2-3 pieces each.
Arrange in advance with the receptionist for the help of one of the waiters, otherwise you will have to carry the dishes from the kitchen
A walkie-talkie or a telephone connection with the kitchen to coordinate bringing the food to the photo shoot.
A few rules for a successful food shoot:
Be sure to prepare, approve with the management and give the photographer the terms of reference for the food shoot (see the link to the appendix below). Properly drafted TOR will not only make life easier for all parties, but will also avoid misunderstandings both during and after the shoot.
After agreeing on the terms of reference, organize a get-to-know-you meeting between the photographer or studio representatives and the management. Ask the photographer in turn to present references (examples of his or her own or other people's photos) to discuss the final result. Make revisions to the terms of reference during the meeting.
Use real food and beverage output and presentation.
Use real food and beverage output and presentationUse real ingredients, both in the dish and for decoration.
Try to choose a location in advance for the photo shoot with the photographer. Choose a spot far enough away from the main seating that you don't disturb guests by rearranging lighting equipment, props and traffic around you.
Most likely, the photographer will ask to shoot from very early in the morning, while the kitchen may not be ready by then. Therefore, the day and time of the photo shoot should be confirmed in advance with the chef and managing director. Make sure that there are no events or banquet preparations going on in the restaurant at the same time.